There are so many keys to playing good golf, a lot of times when students are hitting the ball badly, they immediately think it is a result of a big fix that needs to be made when in reality the majority of the time it is just something small causing the big misses and inconsistency. Grip is one of the biggest factors in the direction the ball will start and move. Below are grips with descriptions of the direction the ball will go with the specific grip.
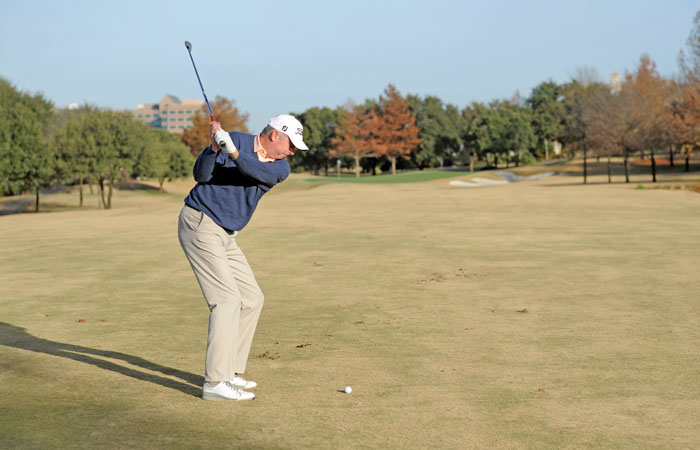
Speaking in right-handed player terms here. The above grip tends to cause a ball flight that starts slightly left of the intended target line and moves to the right causing a fade or slice or starts right of the intended target line and moves more right. The grip can also cause the dreaded shank or a block (right shot). The above grip tends to make the majority of people come over the top thus hitting a fade or slice. What do you look for when you are looking down at your grip to know the ball will most likely fade or slice? When you look down you will not see any knuckles on your left hand, and you will see several knuckles of your right hand. This keeps the clubface open the majority of the time and makes students have a more out-to-in path or over the top swing path resulting in the fade, slice, top, thin, or blocked shot.
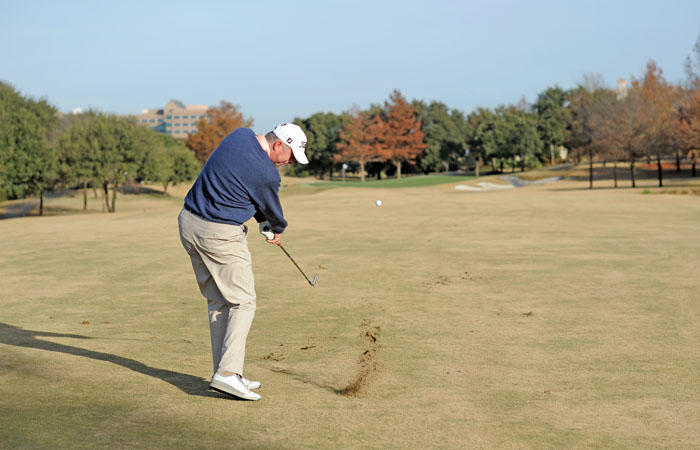
Speaking in right-handed player terms again. This grip will cause a right to left ball flight the majority of the time. For those of you that slice the ball you need to move towards this grip. The above grip helps the clubface rotate over more naturally and helps players to have a more in-to-out swing path. What do you look for when you are looking down at your grip to have a stronger grip like this? Make sure you can see 2-3 knuckles of your left hand and no knuckles from your right hand. You should have your right hand more underneath the grip and see a little of your right palm this ensures the clubface can rotate over easier getting rid of the open clubface at impact.
The above drill is one of my all-time favorite drills for my students who fade or slice the ball. It is a guaranteed fix! Grip the top of the club with your lead hand (left hand for right-handed players) and grip the bottom of the grip with your trail hand (right hand for right-handed golfers). When you do the split grip make sure you see 2-3 knuckles on your lead hand when gripping the club (left hand for right-handed golfers), and see a little of the palm of your trail hand at setup (right hand for right handed players). This split grip drill will ensure your club path is more in-to-out and get rid of your fade or slice. As you do this drill you should see the ball moving left. Once you get the ball moving right to left hard (hooking) or are hitting behind the ball that means your path is now too much in-to-out and you are ready for the next step! Bring your right hand up the grip closer to your left hand until you are hitting the ball straight. Do this drill for a few weeks and I guarantee you will be hitting the ball at least ten yards farther and straighter. If you are not, please reach out and I will tell you some other drills to do.
Above are two things to look for at impact when doing the split grip drill. For those of you who slice or fade the ball if you take a practice swing and stop at impact, you will notice most likely you have the grip leading the clubhead as in the thumbs down picture. Anytime the grip leads the clubhead it opens the club face causing you to have to square up the clubface by doing other things. For this drill, take practice swings and stop at impact practicing having the clubhead, shaft, and grip in a straight line pointing to the middle of your sternum as show in the thumbs up picture.